How to Set Up a Short URL Custom Domain Without Bitly

Key takeaways
You can run branded short links in three ways: a subdomain shortener (needs a CNAME and a separate host), hand-written redirect rules in your own site (every change is a deploy), or Integration Mode, which serves the links on your main domain without a DNS change. Pick by who owns DNS and how often links change. Use a temporary code (302 or 307) for campaign links whose destination will change, keep old redirects running as long as printed codes may be scanned, and decide who may edit each destination before you print.
In 2025, 93% of marketers said they'd increased their QR-code usage during the previous 12 months, according to Bitly's survey of marketing professionals[1]. That makes the address behind a printed code more than a technical detail: it's a public link your audience may keep using long after a campaign ends. A short URL on a custom domain gives you control over that address, and there are ways to run one on your main website without moving DNS or adopting Bitly.
Why the Domain in a Short Link Changes Results#
The domain people see before they click can affect how they respond. Rebrandly reported up to 39% more clicks for branded short links after analyzing more than 1 billion clicks across approximately 2 million links, along with a controlled comparison of otherwise identical Twitter ads, as summarized by Attri's analysis of custom-domain short links[2]. That result comes from a link vendor's ecosystem, so treat it as directional, not a promise for every brand or channel. At the same relative uplift, a campaign that gets 10,000 clicks from a generic short domain would get about 13,900, but your results may differ.
The visible domain can make a difference on a printed QR code on packaging, a paid social post, or an email to existing customers. A familiar brand host helps recipients identify who's sharing the link and gives them context before they visit the destination. That doesn't guarantee trust or a click, but it gives your link a recognizable identity instead of a shared shortening-service address.
There's also a practical advantage after publication. Keep the public URL and change its destination when a campaign ends or a page moves, and a printed code can continue working without a new print run. For a closer look at the audience-facing distinction, see this guide to branded versus generic short links.
The three main routes are a shortener on a subdomain, hand-written redirect rules, and Integration Mode on your existing platform. The comparison below is the quickest way to decide which one fits your DNS, development capacity, and reporting needs.
Three Ways to Put Short Links on Your Domain#
| Criterion | Subdomain shortener | Hand-written rules | Integration Mode |
|---|---|---|---|
| Link host | go.brand.com (separate subdomain) | yourbrand.com/go/... (main site) | yourbrand.com/go/... (main site) |
| DNS change needed | Yes, a CNAME record | No | No |
| Separate short domain | Yes | No | No |
| How an edit goes live | In the shortener's dashboard | Redeploy the site | From the rules file, no redeploy |
| Click reporting | Shortener dashboard | Your own tracking, if configured | Visits reported back to RedirHub |
| Best fit | Teams that want a subdomain and a dashboard | Developers with a few fixed links | Teams with many links on a site they won't move |
A subdomain shortener suits a team that wants link creation and reporting in a dashboard and is comfortable setting up another host. The links live at a recognizable address, but the shortener service, not your main site, handles requests for that subdomain.
Hand-written rules suit a developer managing a small set of stable links in one CMS or framework. The main site keeps the paths, but every link change requires a site deployment, and click reporting needs to be handled through your own tracking setup.
Integration Mode fits a team with many short links on a site it intends to keep. Your platform serves the paths on the main domain, while the redirect rules and analytics are managed separately. That separation can make link updates easier to manage without changing the site's DNS or deployment workflow.
How much time the short-link hop adds#
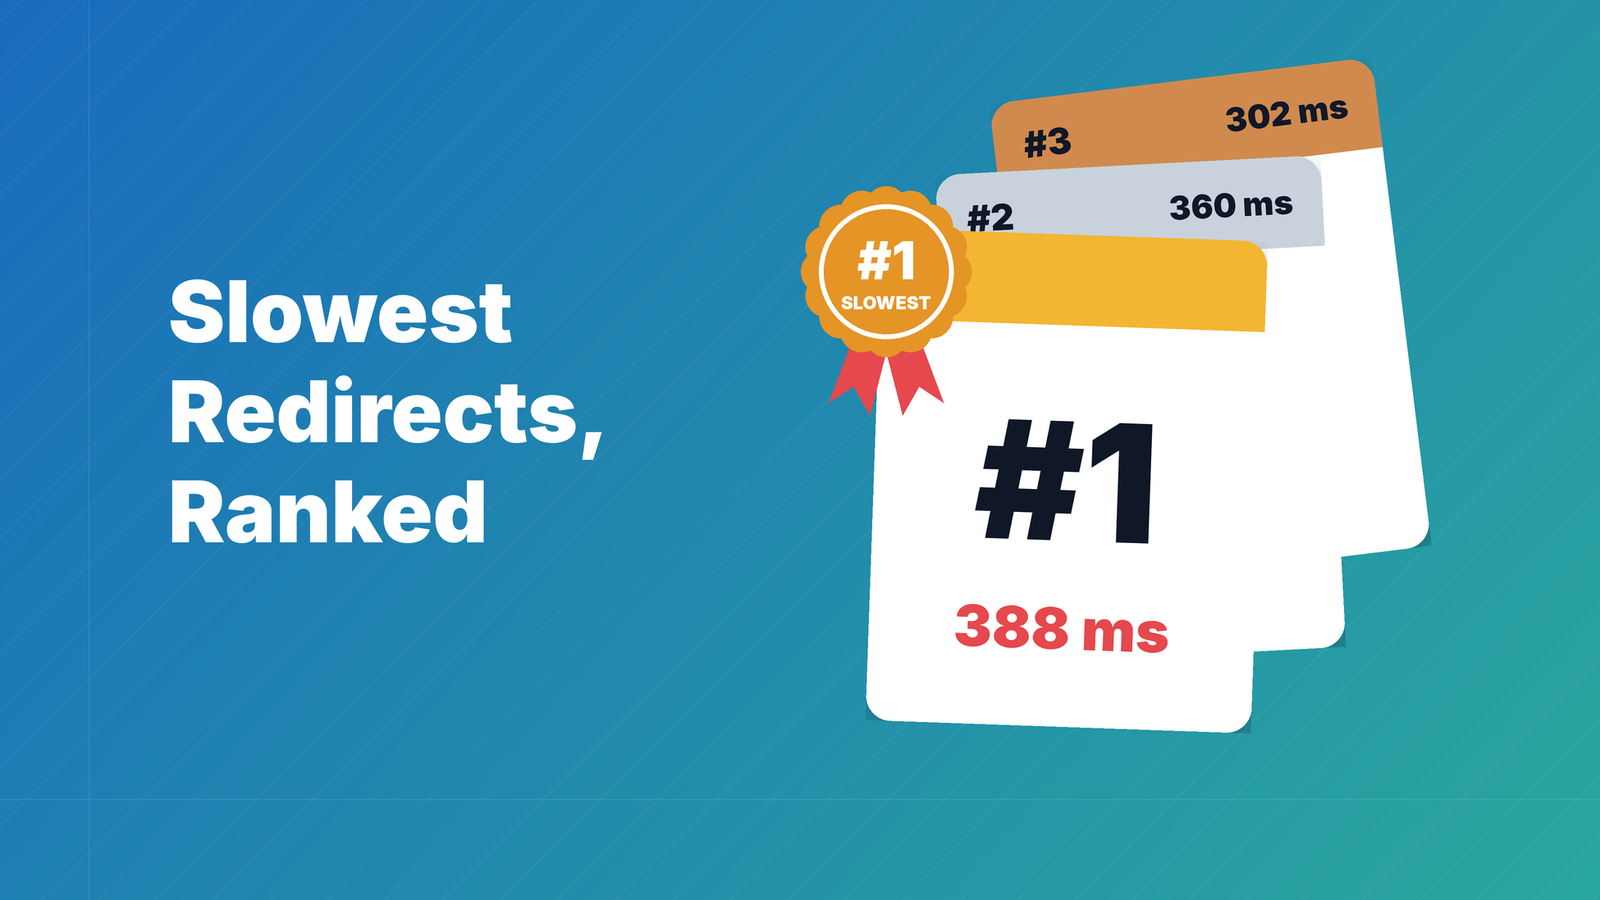
A subdomain shortener puts a redirect in front of every click, so the host's speed counts. In the RedirHub redirect speed benchmark, 2 to 9 November 2026[3], the median time to first byte of a redirect, averaged over Washington, D.C., Frankfurt and Tokyo, was 15 ms for RedirHub, 37 ms for Dub, 56 ms for Short.io, 118 ms for Bitly and 264 ms for Rebrandly. The benchmark is published as open data (CC BY 4.0) and updated hourly; read on 9 November 2026.
Set Up a Branded Subdomain With a CNAME#
A subdomain such as go.brand.com is a straightforward choice when your team wants a dedicated link host and doesn't mind connecting it to a shortener. Use this order to avoid publishing links before DNS and HTTPS are ready.
- Choose the host. Pick a short, readable subdomain and confirm that you can manage DNS for its parent domain. A subdomain keeps the short-link service separate from your main website; don't try to use a CNAME on the bare apex domain, which standard DNS doesn't allow.
- Add the CNAME record. Point the subdomain to the target supplied by the shortener, and leave the root domain's existing records alone. Changing the wrong record can disrupt the website or other services that use the main domain.
- Check DNS before continuing. Use a DNS lookup to confirm that the new record resolves to the expected target. If the change has only reached some resolvers, links may work inconsistently, making a DNS propagation issue look like a problem with the shortener.
- Verify the domain and HTTPS. Complete the shortener's domain check and wait until it has issued a valid certificate before sharing a link. A link that opens with a certificate warning is a poor first experience, especially for someone scanning a QR code.
- Create a readable slug. Use a pattern such as
go.brand.com/spring-saleand include the campaign's UTM tags in the destination URL before saving it. A clear slug helps teammates recognize what a link is for, while UTMs let your analytics distinguish its traffic. - Test away from the office network. Open the short link on a phone using mobile data and confirm that it reaches the final destination in one redirect. Office networks can hide DNS or caching problems that a customer may encounter on another connection.
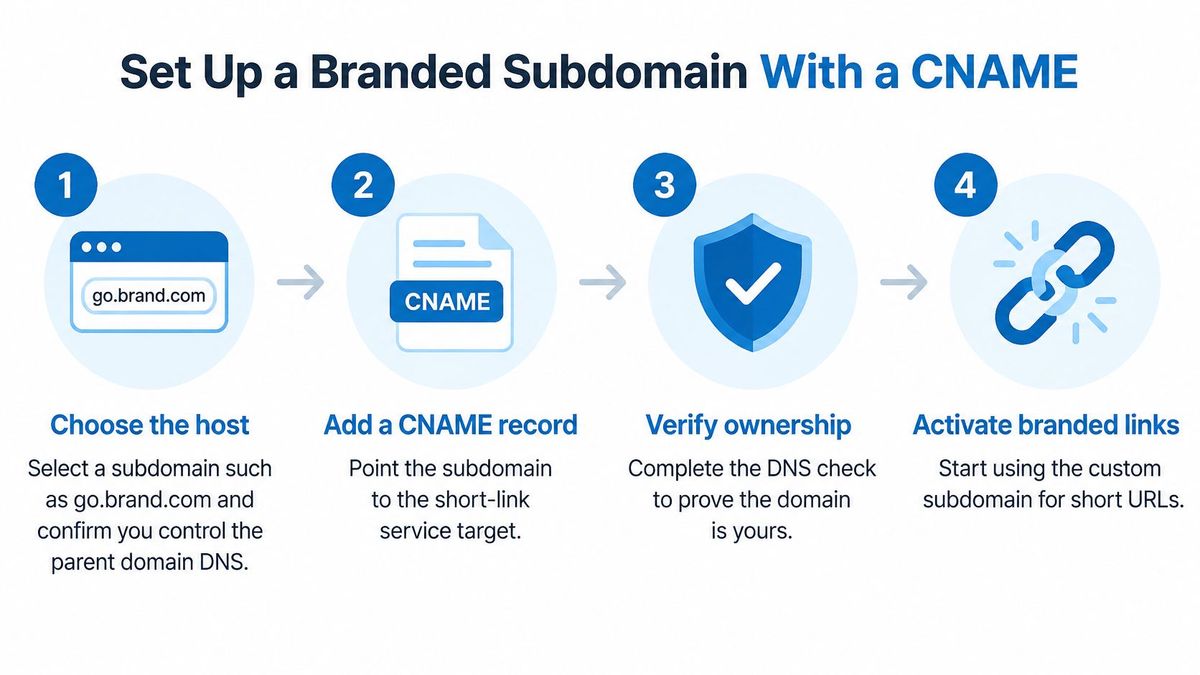
The setup is ready to publish when the short URL resolves, shows a padlock in the browser, and appears in the click report with the expected source. If you're checking whether the record points traffic to a service or forwards visitors to another address, this guide to CNAMEs versus redirects clarifies the difference.
Write Redirect Rules Without a Shortener#
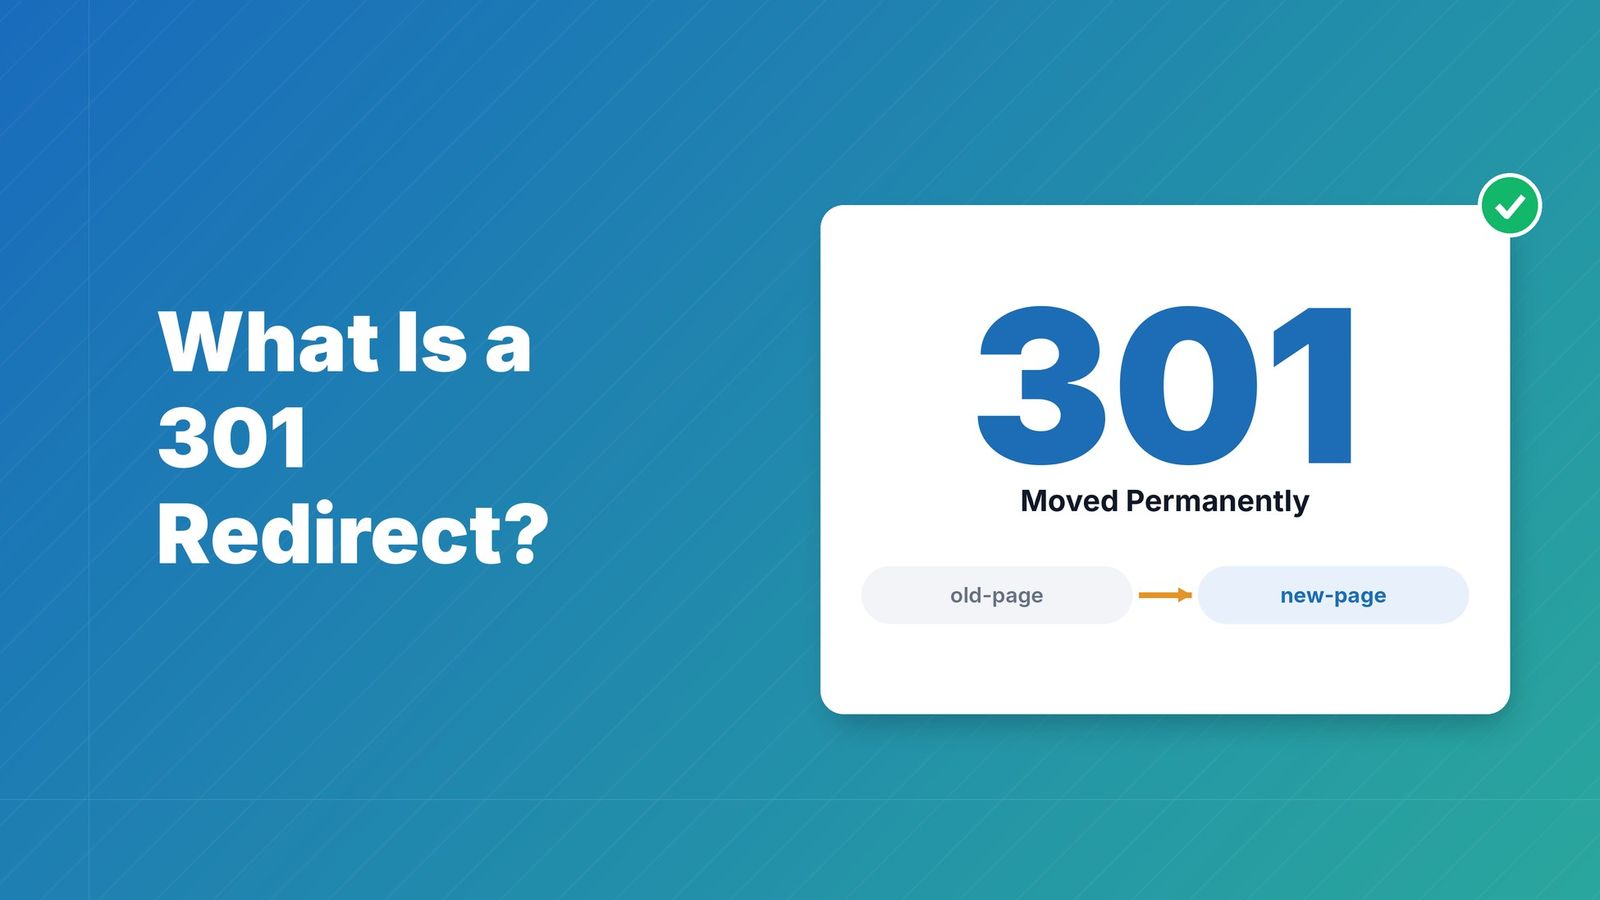
For links handled by your own CMS or framework, choose the redirect code according to how long the destination is expected to stay put. The Google Search Central guide to permanent redirects[4] recommends server-side permanent redirects such as 301 or 308 for site moves.
| Status code | Redirect type | Use it when |
|---|---|---|
| 301 | Permanent | A page has moved for good and the destination will rarely change |
| 308 | Permanent, method kept | A permanent move where the request method must stay the same |
| 302 | Temporary | A campaign link whose destination may change |
| 307 | Temporary, method kept | A temporary redirect where the request method must stay the same |
A reliable rollout starts with a small, explicit map of the paths you intend to redirect. Then test the actual link paths and query strings, not only the site's homepage.
- Prove domain control and provision HTTPS. Confirm that you control the domain and that the branded URL loads securely before you share it. A functioning redirect without valid HTTPS can still trigger browser warnings.
- Build the path map. Map each short path, such as
/go/spring-sale, to one destination. Preserve the incoming path and query string unless the campaign needs different behavior, so existing tracking parameters don't disappear accidentally. - Select the status code. Use a permanent code for a genuine move and a temporary code when the campaign destination may change. For example, a temporary promotion shouldn't be treated like a permanent migration because its URL is being shared widely.
- Test representative requests. Exercise both apex and
wwwhostnames, HTTP-to-HTTPS behavior, encoded paths, query parameters, trailing slashes, missing destinations, and redirect loops. A valid homepage redirect doesn't prove that path forwarding or campaign links work. - Monitor after launch. Review edge logs and 404s so you can find broken mappings after real visitors start using them. Make sure tracking parameters are preserved and that each branded link reaches its destination in one redirect hop.
For example, your framework's redirect configuration might map /go/spring-sale to /products/spring-collection. Keep the rule specific enough to avoid taking over unrelated pages, and include the final destination's tracking tags where your campaign needs them.
Be careful with 301s for editable campaigns. Browsers and intermediary caches may retain a permanent association, so changing a destination later can be hard to diagnose. The practical acceptance standard is zero loops, no unintended method changes, intact tracking parameters, and a single hop from branded link to final destination.
Connect Your Domain With Integration Mode#
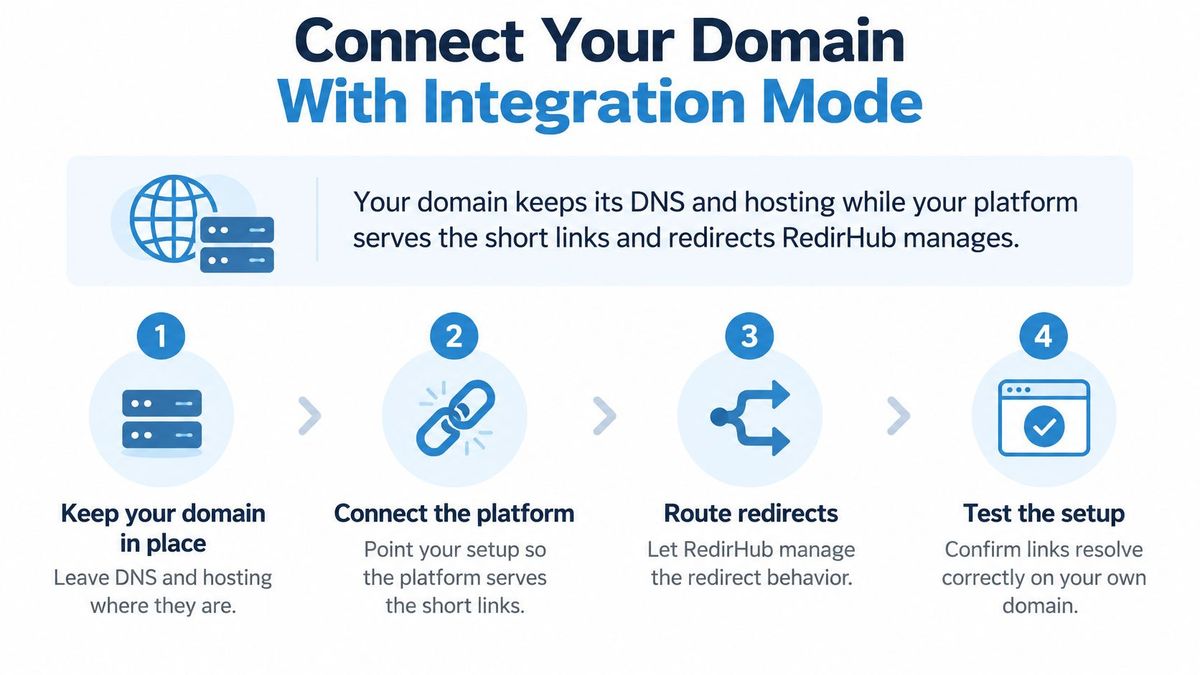
Integration Mode takes a different path from a CNAME setup: your domain keeps its existing DNS and hosting, and your own platform serves the short links and redirects managed in RedirHub. The payoff is a branded link on your main website host, such as yourbrand.com/go/spring-sale, with no separate short-link domain and no DNS change.
- Pick the platform. Ready-made, tested setup prompts exist for Cloudflare Workers, Vercel / Next.js, and WordPress. Any CDN, framework, or server that can fetch a text file and send a redirect can run the same pattern.
- Generate the integration with an AI coding agent, then review and deploy it. The agent writes the code for your stack. Have a developer check how it matches redirect requests and how it passes normal page requests through, then ship it through your regular pipeline. The integration ends up under your team's usual review process, so routing conflicts get caught like any other code change.
- Confirm the domain shows as Connected. Ownership is proved on the domain itself, with no DNS or TXT record to add. That matters when another team controls DNS or when the existing site and CDN must stay untouched.
- Create a link and test it on the live domain. Add a short path in RedirHub, then confirm the public URL resolves from your running site. Custom HTML pages and other HTML pages need a DNS connection, wildcard domains aren't supported, and frame redirects and password protection aren't applied.
What happens after deployment#
The platform fetches one plain-text rules file on a schedule, so an edited destination goes live without a redeploy. The public URL stays the same when the destination changes. Specific link rules run ahead of the site's own pages, while a domain-wide catch-all answers only when the site itself returns a 404, so a working page is never shadowed by a redirect.
Failure behavior is part of the design. The integration fails open: if the rules file can't be fetched or parsed, requests fall through to the site instead of erroring. Visits are reported back so analytics behave as they do for DNS-connected domains, and the Cloudflare Workers and WordPress integrations can also report your site's own 404s. Each domain can hold up to 50,000 rules.
Choose this route when centralizing redirect mappings matters but touching DNS or hard-coding every link into deploys doesn't fit your operating model. Static file approaches cap out quickly: Cloudflare Pages documents a maximum of 2,000 static and 100 dynamic redirects in a _redirects file, 2,100 combined, in its platform limits documentation[5]. Keeping the rules file outside the release cycle lets a marketing team edit links while the site itself stays exactly as it was.
Govern Editable Links and Tracking Safely#
A short link's destination can change after someone prints or shares it, and the account that controls the link can be compromised. A custom domain identifies the organization associated with the URL, but it doesn't prove that the destination is safe. HTTPS protects the connection, not the legitimacy of the landing page.
Palo Alto Networks' Unit 42 reported more than 11,000 malicious QR-code detections per day on average in its telemetry and found that attackers exploit QR-code shorteners because destinations can be changed later and scan data tracked centrally, in its analysis of QR codes as an attack vector[6]. For a QR code that may stay in circulation, the important question isn't only who owns the visible domain. It's who can change the destination and how your team can verify that change was intentional.
Put link ownership into practice#
Before publishing, assign an owner who can answer four questions: Who's allowed to edit this destination? Does an approval step apply, and can editors review an immutable change history? How will an abandoned campaign be disabled? Can a security reviewer distinguish an authorized destination change from an account takeover?
Use that review to establish a working checklist:
- Limit permissions: Give each person only the access they need to create, approve, or edit links.
- Keep change records: Maintain a log that shows what changed, who made the change, and when it happened.
- Set an expiry date: Give every printed code a review or end date, even if the material may remain in circulation.
- Review destinations regularly: Check that active links still go to the intended pages and that old campaigns haven't been repurposed.
- Disable links deliberately: When a campaign ends, decide whether the link should be retired or sent to a useful replacement page.
For measurement, name slugs by channel and campaign, and include UTM tags on every destination. Check weekly for 404s and unexpected traffic patterns in your click reporting. Teams choosing a broader measurement stack can also browse website analytics platforms[7] to compare options for analyzing visits beyond the short-link dashboard. This guide to preserving UTM parameters through redirects can help you plan tracking consistently.

Move Existing Links Without Breaking Printed Codes#
A migration starts with the URLs people already have, not just the new redirect setup. Printed codes can't be edited after distribution, so keep the old routes working until the material that contains them is no longer in circulation.
- Inventory every live short link. Record the existing URL, its destination, where it appears, and any expiry date. Include print, email, paid ads, and partner pages so the list reflects where people can still find the link.
- Map each old slug to the new host. Choose a path such as
yourbrand.com/go/spring-saleorgo.brand.com/spring-sale, then preserve the destination and its UTM tags. That gives each old link a clear replacement without losing campaign attribution. - Load and test the new links. Check the live domain, the final destination, query strings, and the redirect path. Test from a phone on mobile data as well as from your normal development environment.
- Keep old redirects running through the print lifecycle. Don't switch off an old link while a printed code that uses it may still be scanned. A stale-looking link can still be a working route to customers who have the older material.
- Check for 404s before cutover. Review click reports for both old and new paths, then confirm that no mapping is missing. The common mistake is switching every destination at once without testing, which can break all affected printed codes together.
Once a public link sits on your domain, changing tools doesn't have to change the address people already have. Your team can change the source of the redirect rules while keeping the published URL stable. Record each new mapping in the change log so the next editor can see where the link goes and why.
Choose Your Setup and Launch Your First Branded Link#
Choose based on who owns DNS, how often links change, and whether your team wants to deploy redirect updates with the site. A marketing team with a few campaigns and no developer can start with a subdomain shortener. A developer with a fixed set of links in one framework can write and maintain the rules directly.
An agency or in-house team managing many links on a site it won't move can use Integration Mode to serve paths on the main domain. RedirHub branded links and dynamic QR codes use a URL on the customer's own domain, and their destinations can change while their public URLs remain the same.
Before printing or sharing anything, take three actions: confirm who controls DNS and hosting, choose the route that fits that ownership, and test one live link using that route's verification steps. Your links are yours. For further reading, see the Integration Mode changelog, the guide to branded short links, and the Bitly comparison for a side-by-side view.
Put Short Links on Your Own Domain
Create branded links and dynamic QR codes on a domain you own, and change the destination later without changing the public URL.
See Integration ModeSources
- [1]Bitly's survey of marketing professionals
- [2]Attri's analysis of custom-domain short links
- [3]RedirHub redirect speed benchmark, 2026-11-02 to 2026-11-09
- [4]Google Search Central guide to permanent redirects
- [5]platform limits documentation
- [6]analysis of QR codes as an attack vector
- [7]browse website analytics platforms
Frequently asked questions
Yes. Integration Mode connects a domain without changing its DNS or adding a DNS record: your site's own CDN, app or CMS fetches the redirects from RedirHub and serves them. Hand-written redirect rules in your own site also need no DNS change, but every link change is a deploy.
Only for the subdomain route. A subdomain such as go.brand.com points to the shortener with a CNAME record. A CNAME can't be used on the bare apex domain, so a link such as yourbrand.com/go/spring-sale needs redirect rules or Integration Mode instead.
Use a temporary code, 302 or 307, when the destination may change. Browsers and caches can hold on to a permanent 301 or 308, which makes a later change hard to diagnose. Use a permanent code for a page that has moved for good.
Yes, if the code encodes a short link on a domain you control: the printed URL stays the same and you change only its destination. Keep the old route working for as long as the printed material may still be scanned.
Each domain holds up to 50,000 redirect rules and wildcard domains aren't supported. Custom HTML pages need a DNS connection, and frame redirects, password protection and paused or expired links aren't applied.

Leo Astarothman is the Brand & Content Lead at RedirHub, where he shapes the company's visual identity, educational content, product experiences, and marketing strategies. He also specializes in system design. Simplifying complex redirect infrastructure into practical resources, product experiences, and campaigns that help businesses understand and adopt modern redirect management.
Related Articles
View All Articles